This tutorial assumes you have basic HTML and Marketing Cloud knowledge.
This is part 1 of 3 in a series: Also see tutorials on Marketing Cloud Send Instructions and Create the Chapter Leader Update for the web. While this tutorial is specific to the Chapter Leader Update, it can be applied to any email.
1) Wait for the final approved version to be posted in Teams
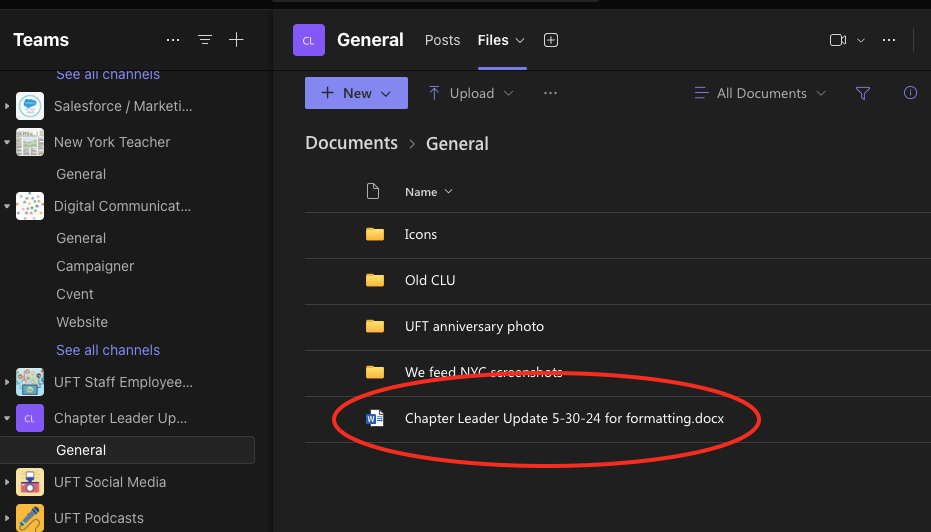
It’s best not to try and skip ahead and start adding content before the final version has been released as there’s often multiple changes and edits before it gets to you.
Usually, it will be uploaded as an MS Word document and located in the Chapter Leader Update Team section in the “Files” tab.
2) Create the new Chapter Leader Update Email
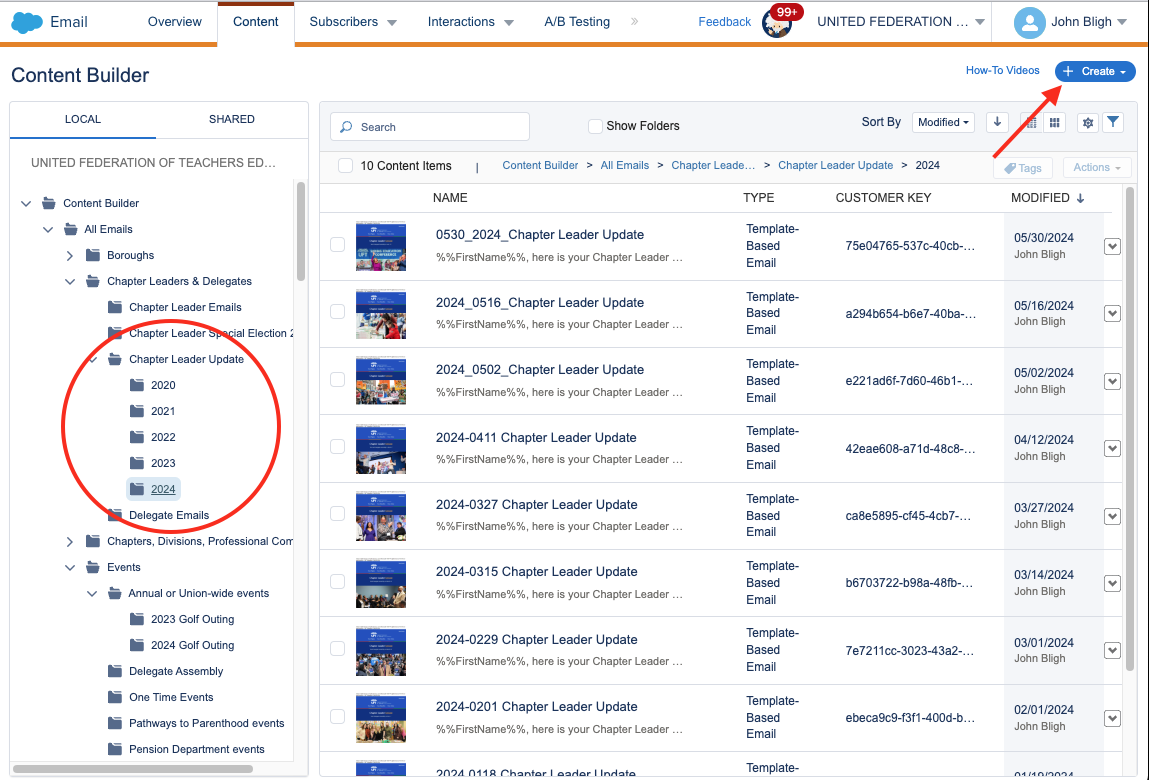
- In Marketing Cloud, open up “Email Studio > Content” and navigate to the appropriate folder within the Content Builder structure. In this case “Content Builder > All Emails > Chapter Leaders & Delegates > Chapter Leader Update > [YEAR]“
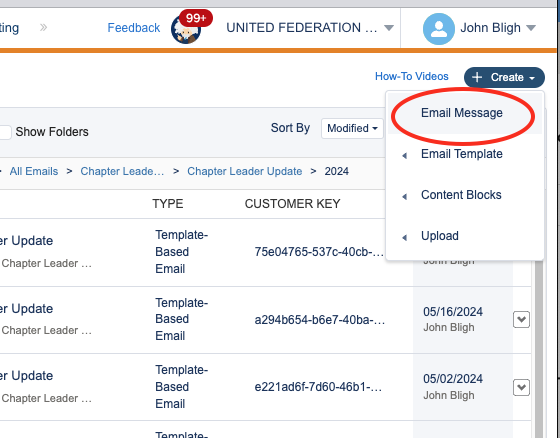
- Click “Create > Email Message“
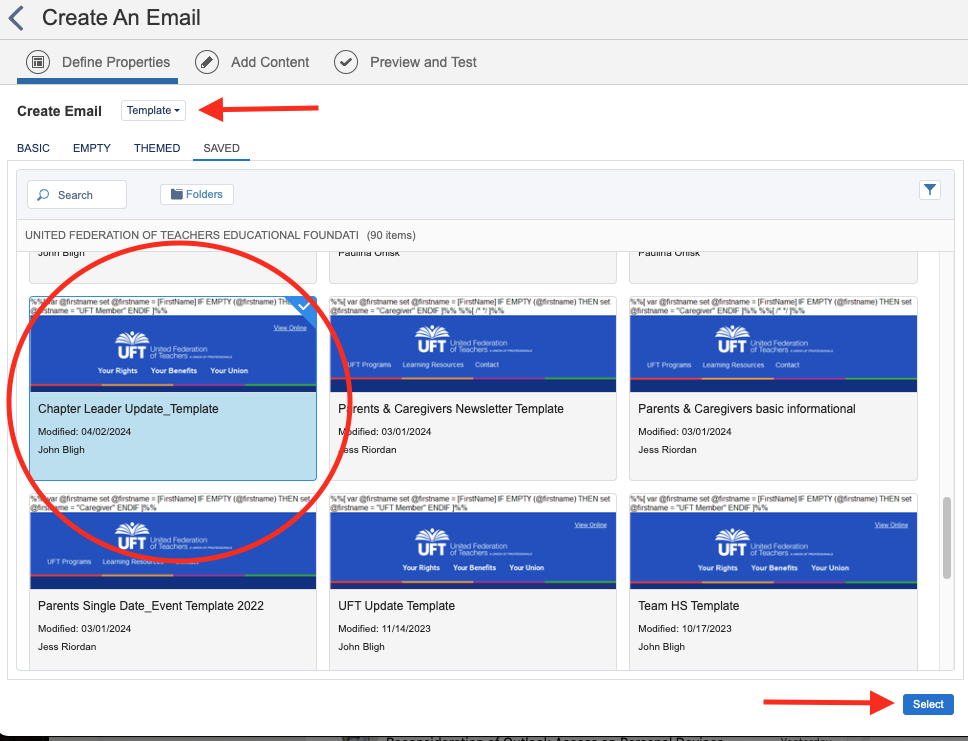
- In the “Create an Email” window, select “Template” from the dropdown next to “Create Email“. Locate “Chapter Leader Update_Template” and select it. Click the “Select” button.
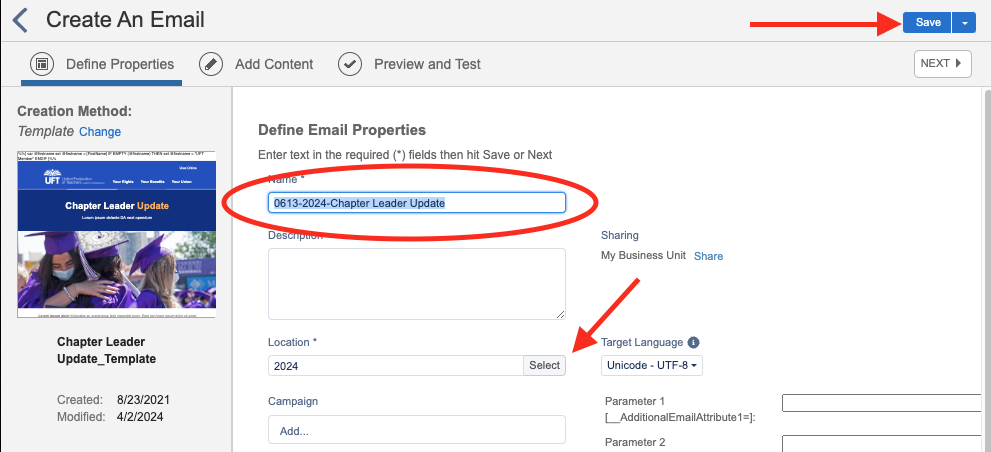
- In the “Define Email Properties” screen, name your CLU Email. The usual format we use is “MMDD-YYY-Chapter Leader Update“.
- The system should save the CLU in the appropriate folder since you’ve already navigated to it, but if not, select it by clicking the “Select” button and choosing the correct location in the resulting window. Click “Save” and go to the “Add Content” tab.
3) Enter the subject

Our usual subject format, unless your are told otherwise, is to personalize it with “%%FirstName%%, here is your Chapter Leader Update for [MONTH DAY]“. Click “Done” and then “Save“.
4) Add the Snapshot
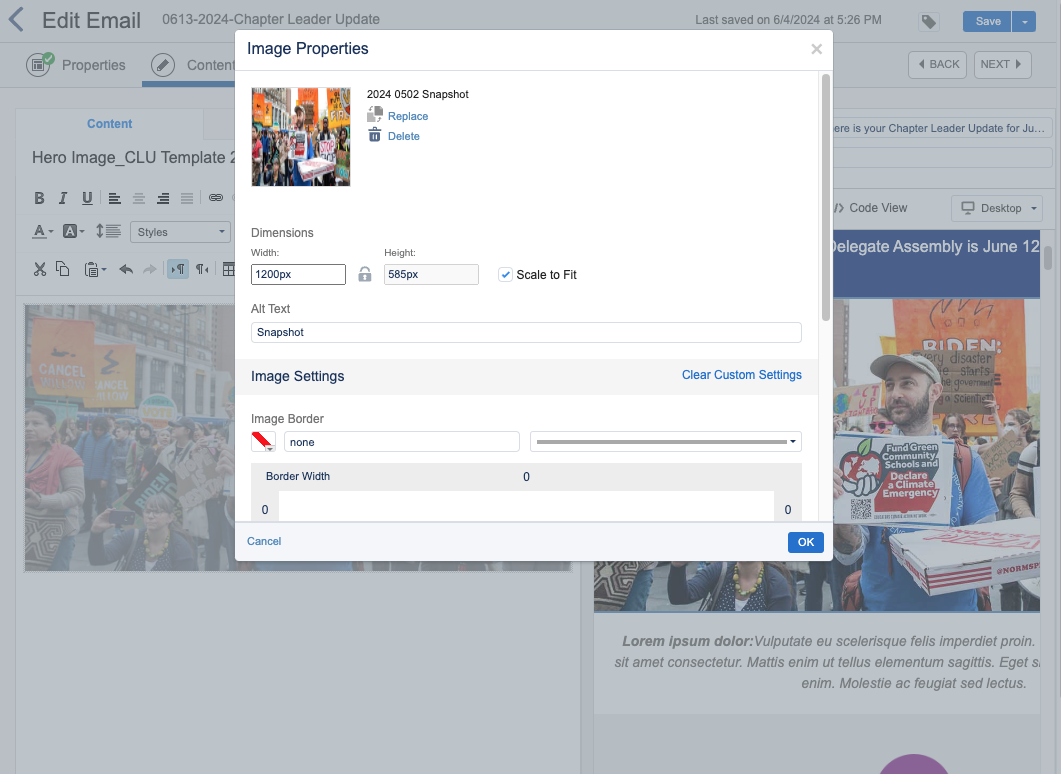
Every CLU contains one snapshot chosen by the editors. Bernadette will either attach the Snapshot in a separate email to you or send you the name and where it’s located in the image drive. Ask Mike Loverde (mloverde@uft.org) to give it to you if you’re having trouble accessing it there.
- DO NOT use the version included in the Word document as it’s not optimized correctly and Word applies it’s own formatting to images.
- The ideal size for the Snapshot is 1200 pixels wide by whatever the height is at 72DPI. If you don’t know how to optimize a photo for the web, find someone who does. Sending a very large full-size image in an email often can (and will) get it rejected by many hosts and potentially cause the email send to fail.
5) Add your content
Clear all formatting in the Word Document
“Select All” in your Word document and then clear all formatting (the location of this function varies depending on the version of Word you’re using and what operating system it’s on).
This step is necessary because if you copy and paste as is directly from Word to Marketing Cloud, all the incorrect formatting and back-end code that Word adds to a document will be carried over into your email and potentially break it or corrupt the email itself.
So unless you have a text editor that filters out all the MS Word code, this is the best and cleanest way to do it.
Paste content into your email
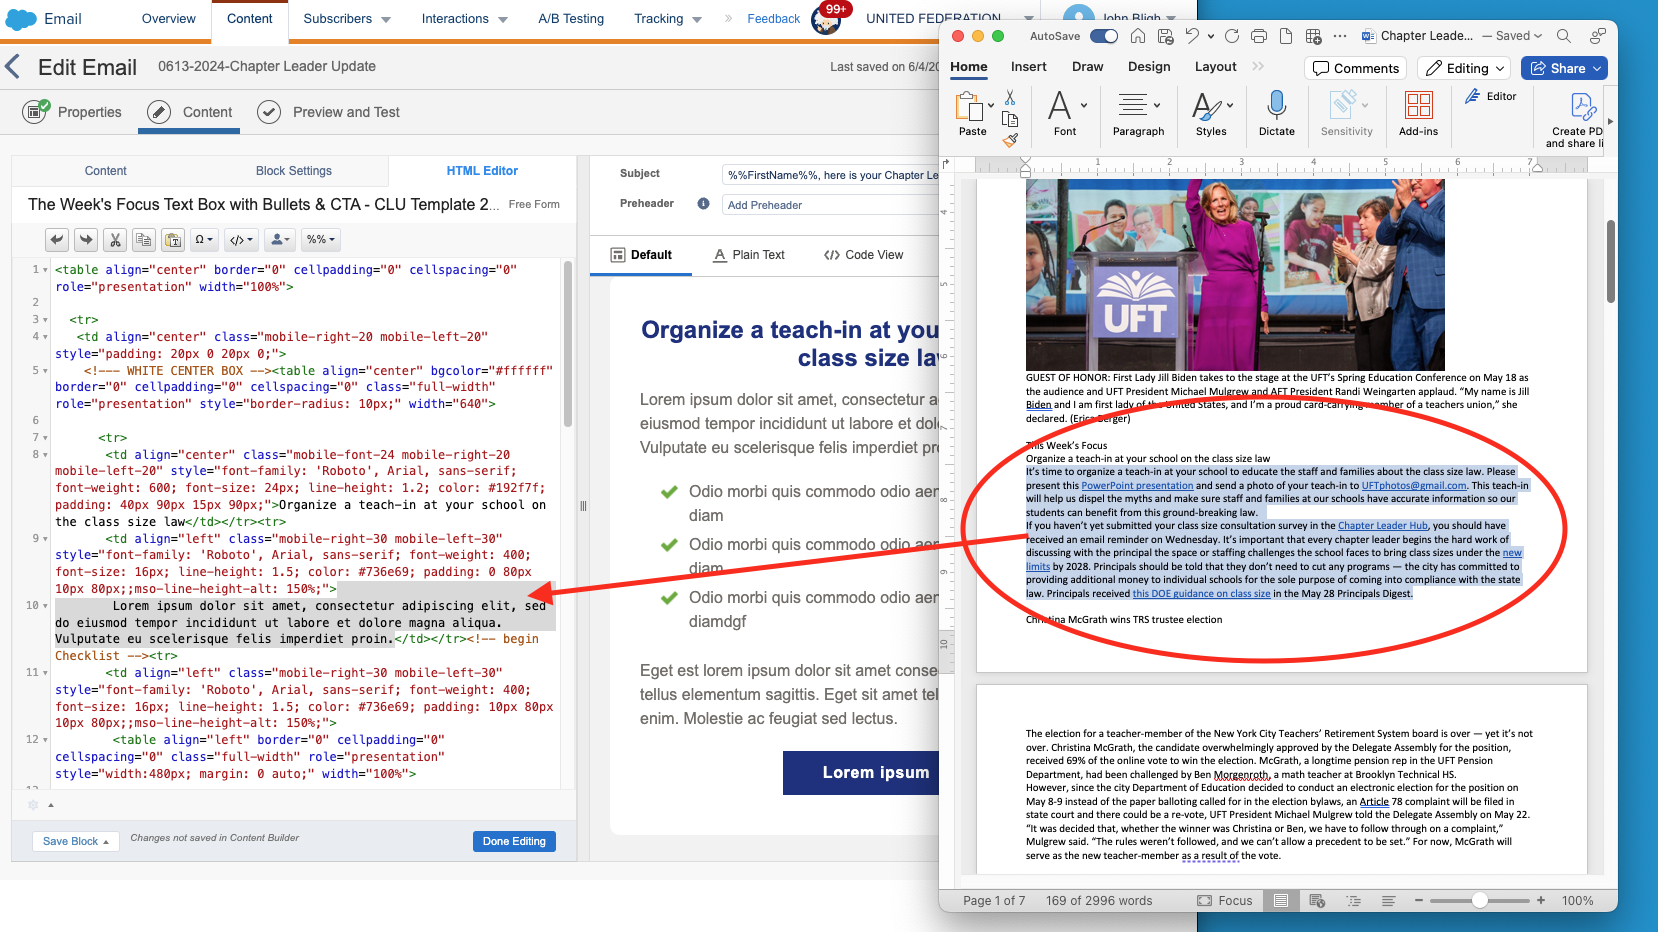
Select the appropriate pre-formatted block in your CLU Marketing Cloud email and click on the “HTML Editor” tab. Copy and paste the raw text into the appropriate locations indicated in the code.
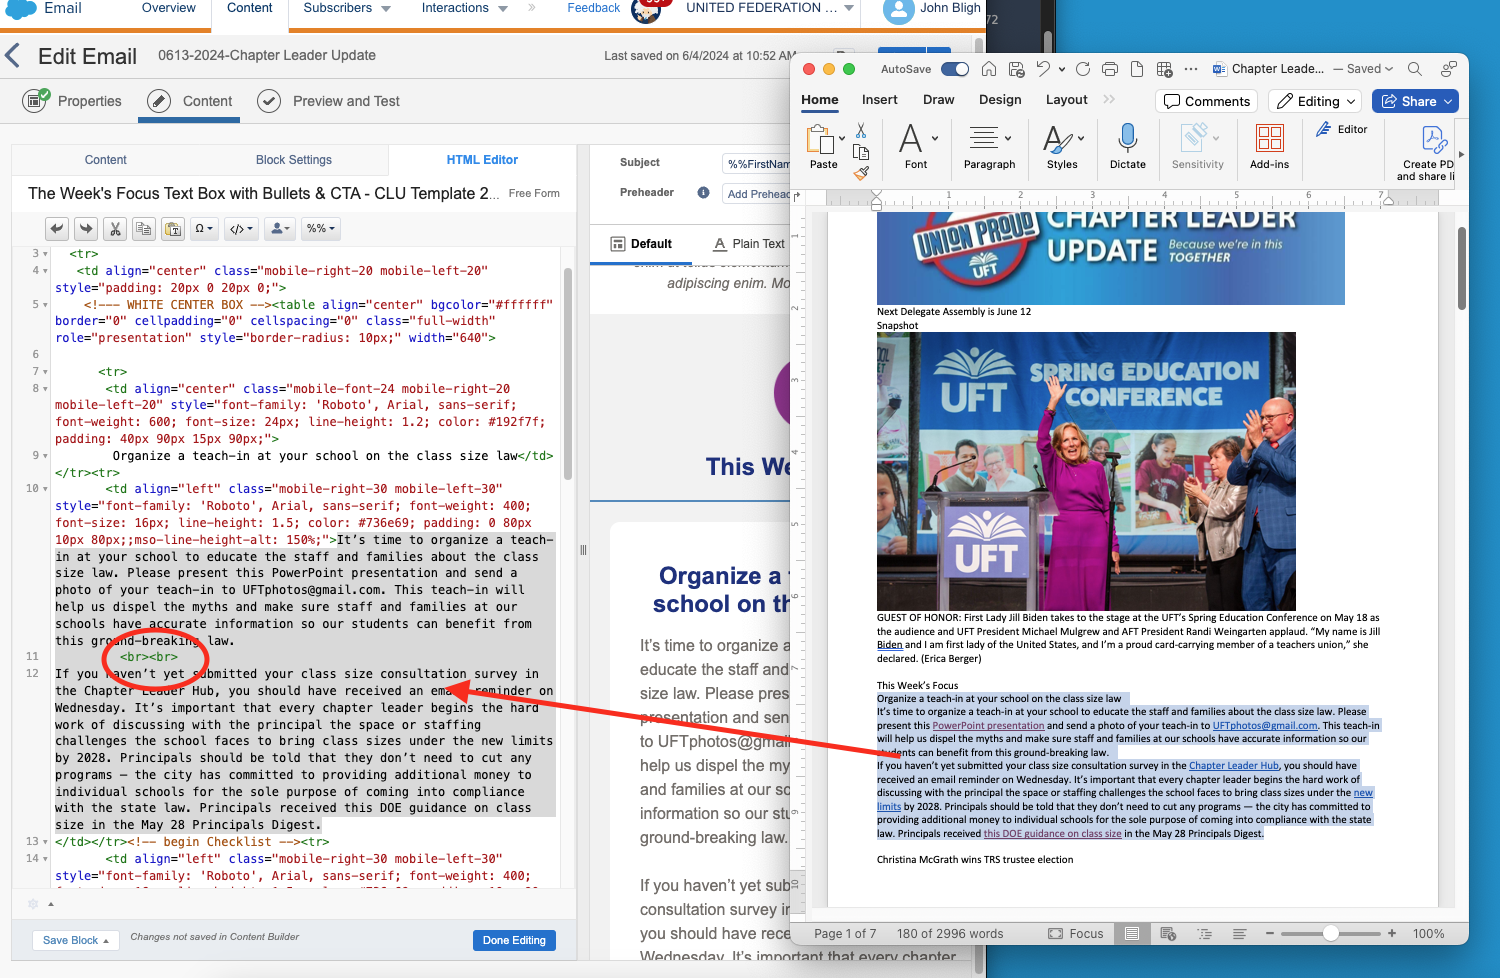
Be sure to add two “<br>” tags between paragraphs. Styling is already included in the block . All other formatting and styling is included in the block. Be sure to save frequently.
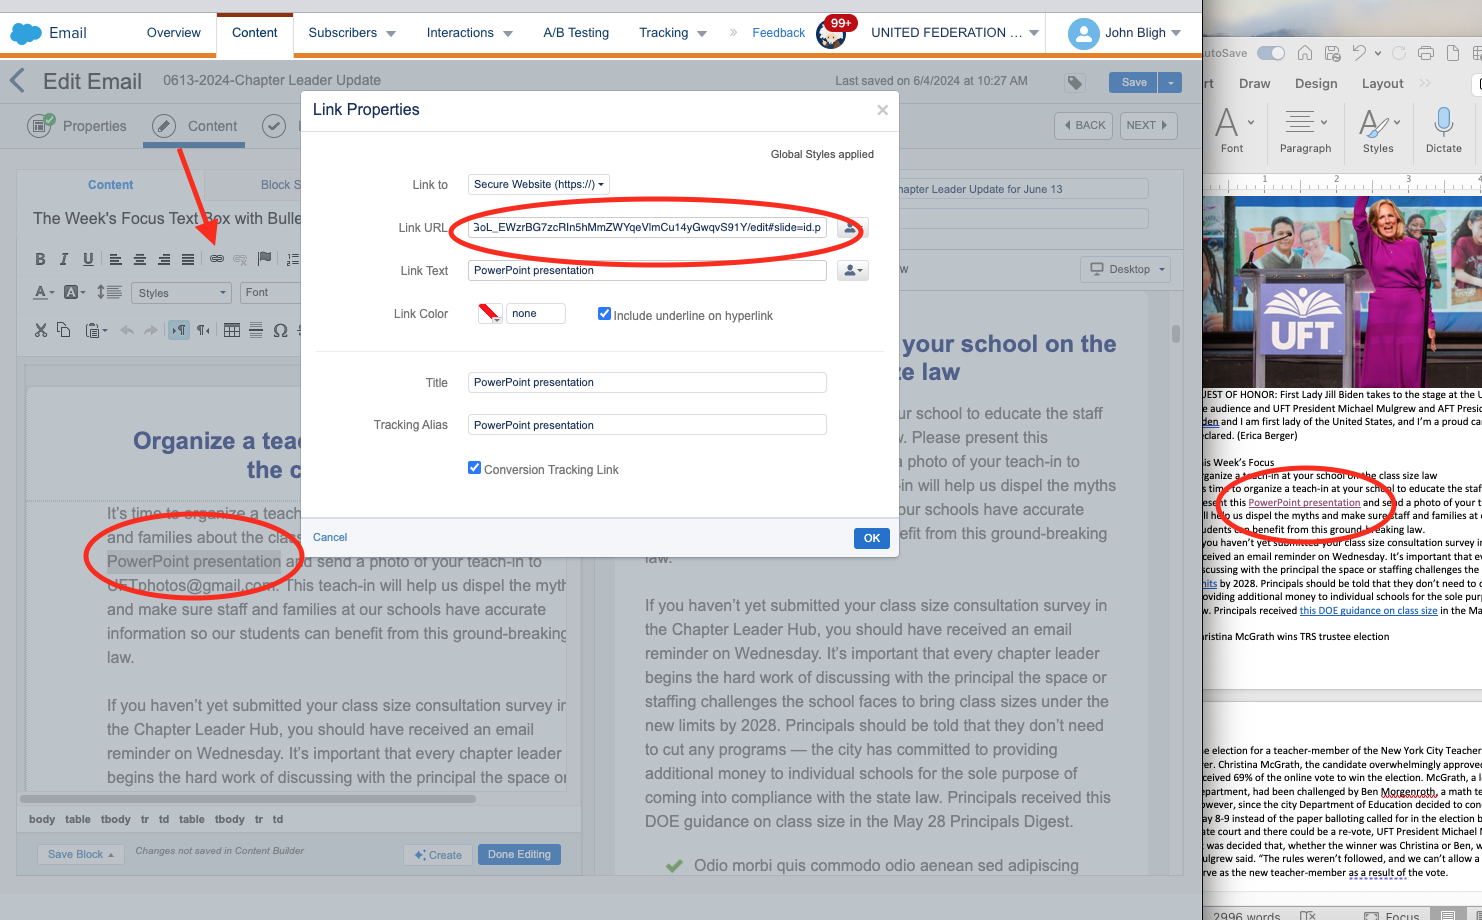
Add Links to your content
Fortunately, clearing all formatting does not wipe out links.
- In Marketing Cloud, select the “Content” tab and start adding links to your block by highlighting the link text and clicking the “Anchor” icon.
- The best and cleanest way to do access the links is to click on the them in the Word document and let them open in your browser. This is a safe way to do this since the URL gets automatically resolved and you see if it’s a corrupted link before adding it to your content. You can then copy the URL from the browser and paste it into the “Link URL” field in the “Link Properties” modal window.
- Make sure “Include underline on hyperlink” and “Conversion Tracking Link” are checked and there is something entered in the “Tracking Alias” field (this can be whatever the “Link text” is.)
- The color of links is defined by the stylesheet so link color should always be “none” unless it’s a specific block that calls for a different color (like the Hub Highlights section, for example, where the text is white).
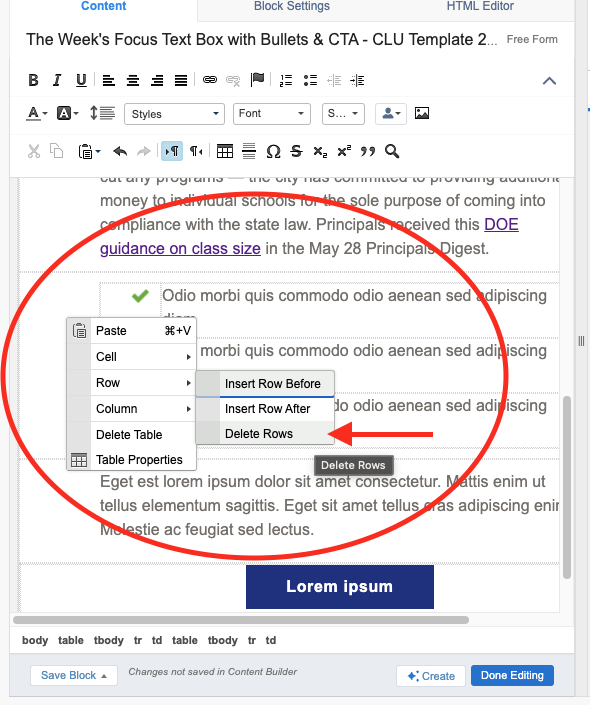
Remove unused rows
All the blocks in the CLU Template have been formatted to accept typical content but not all of it is always needed. To delete a row of unused, pre-formatted content, make sure you’re in the “Content” tab, right click on the row you want to delete, and select “Row > Delete Row” from the resulting dropdown.
6) Create the Test Send
Once you’ve entered all your content and formatted all the links and sections correctly, you can prepare a test send.
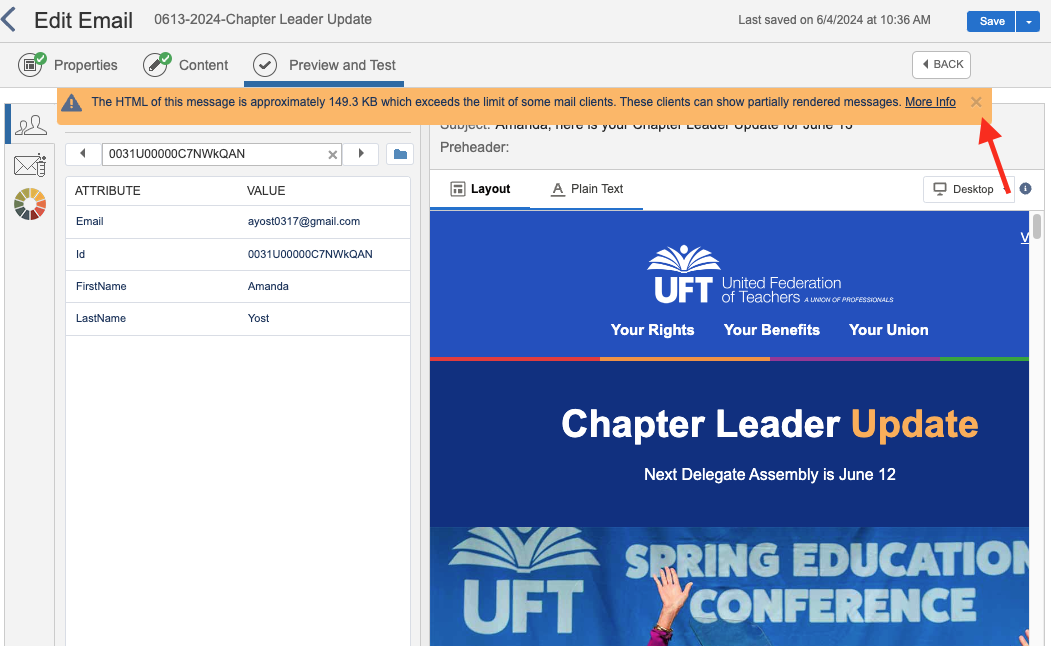
- Click on the “Preview and Test” tab. You’ll most likely get some warning from Marketing Cloud that the email is too large and could be truncated by some email readers. You can ignore these as there’s nothing we can do about that and it doesn’t affect the send. All it means is some email readers will cut off longer emails with a “more” type link.
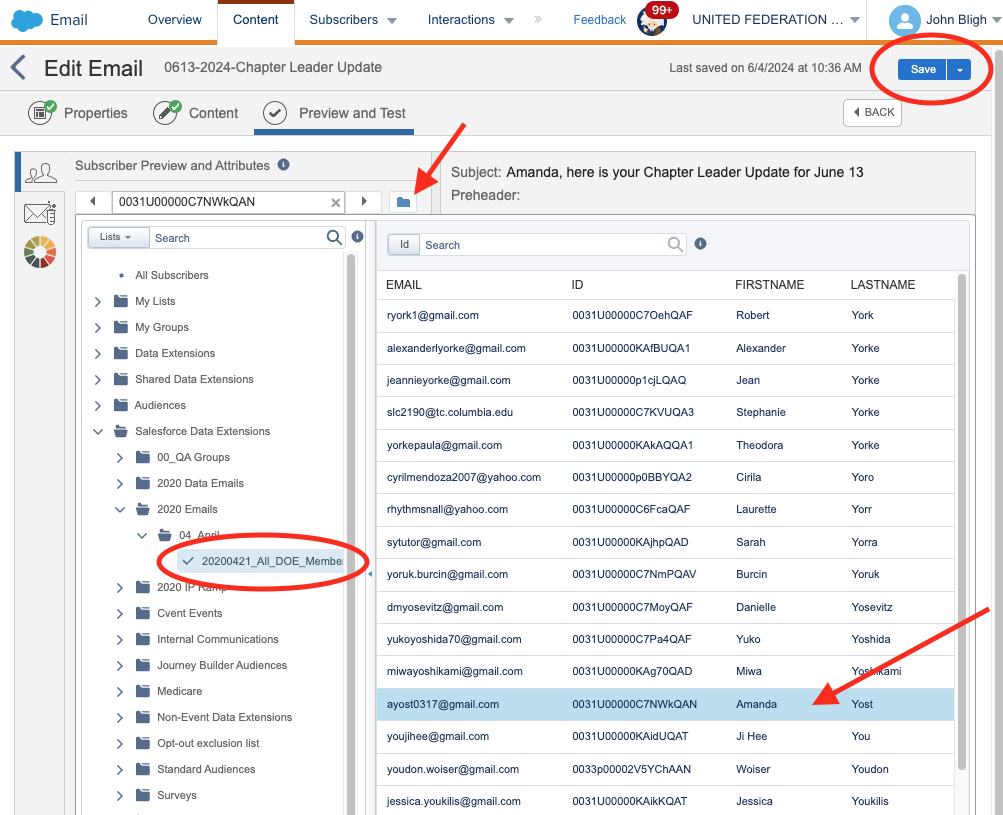
- If you don’t have a “Subscriber Preview” loaded, Marketing Cloud will return an error. To load one, click the folder icon in the first tab under “Subscriber Preview and Attributes” and navigate to “All Subscribers > Salesforce Data Extensions > 2020 Emails > 04_April > 20200421_All_DOE_Members“.
There, you can pick any random name as any one from that list should work.
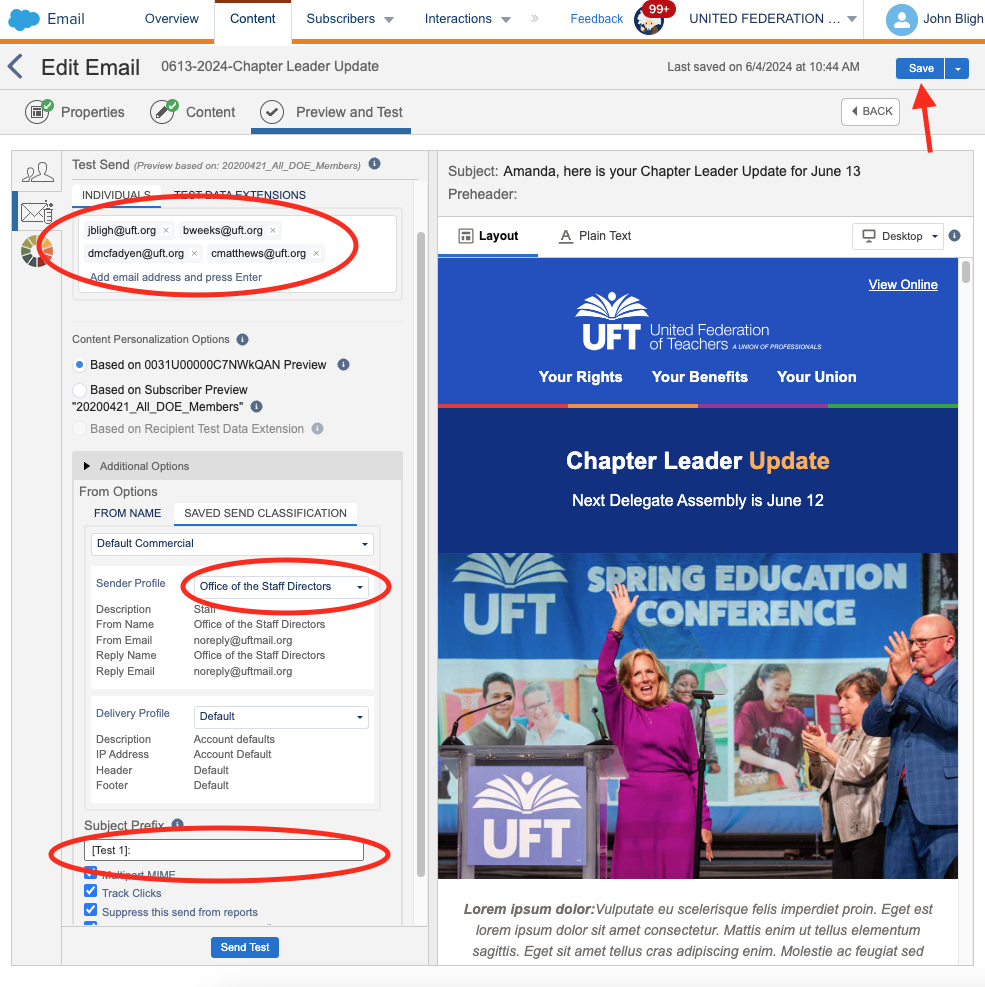
- In the second tab, enter the emails of the people who should receive the test send. In this field, the following three people should always receive one (though there’s often at least one or two other editors who will also need to receive the test send):
- You
- Bernadette Weeks
- Deidre McFadyen
- The sender profile should always be “Office of the Staff Directors“.
- You should always include a Subject Prefix (“Test 1: “, “Test 2: “, etc.) so everyone will know what version of the email this is.
- Once all this is ready, click “Send Test“.
Once all subsequent edits and changes have been approved, you can set up a send in Marketing Cloud.